Easy Activities to Increase Your Creativity

The question I get asked most often is, “Do you think I could do that?” And my answer is most definitely, “Yes!”

Enhancing Creativity

There are so many ways to enhance your creativity level in your life. I think these examples will surprise you!

We’ll start with the person who doesn’t think they are creative. (My husband, Dan, I’m talking to you!)

  • Do you decorate your home with paint colors on the wall, furniture, and art on the walls?
  • Do you put together a matching outfit every morning?
  • Do you plan your garden design or landscaping?

If you answered yes to any of the above questions, then you are creative!

Now that we know you are a creative person, let’s find easy activities to increase your creativity.

According to a blog post on April 26, 2011 from Psychology Today, there are 6 techniques to ignite your inner creativity and passion.

  1. Mindful meditation practice
  2. Dabbling in the arts
  3. Immersing yourself in nature
  4. Entering a sacred space
  5. Seeking out creative stimulation
  6. Mindful movement

I agree with these techniques 100% but I wanted to go through each one to give you an example of what that might look like for you.

Mindful Meditation Practice

Zentangle practice

Have you heard of Zentangle? It is an easy, relaxing, drawing technique that brings you into a state of mindfulness. I didn’t understand the term “mindfulness” at first, but after I started drawing zentangles just for fun, I found that it helps calm me, increases my focus, creativity, and self-confidence. Check out zentangle.com to learn more.

Dabbling In The Arts

What I think is important here is that you are “dabbling”. You can’t start experimenting in any form of art and expect to be a master painter. It takes practice!!

My suggestion is to pick up a fun art supply that interests you and have a go. Just dabble and experiment for 15 minutes, 3 days a week for 2 weeks. If you hit on something you enjoy, go deeper. Take a class on that medium, look up a YouTube video, make something larger, or make a gift for someone.

My favorite way to stay connected to art is through Art Journaling. You get a blank, no lines, book and once a month, do a 2-page spread using whatever art supplies you have. Add words describing something you are grateful for that month. If it takes you a week or a month to get the page done, that’s perfectly fine. Just do it!

Art Journal Page - Just Do It from February 2019
Art Journal page Feb 2019

I’m going to have some intro videos that give you ideas on different art products and techniques that will help get you started. Stay tuned!

Immersing Yourself in Nature

Take a camera or your iphone and go for a walk in a forest preserve or arboretum, or even a zoo. Take pictures of everything that you feel connected to.

Entering a Sacred Space

Do you go to a place of worship? I love spending time with my church friends whether it’s at a church function, small group at someone’s home, or just getting together for fellowship (usually over food and drinks!) If you don’t have a church home, talk to a friend that you know goes to church and ask them about it. God made us a creative being that likes to be in community with others!

When you get home pick out a favorite, print it out, and include it in your art journal so that you can remember how you felt when you were immersed in nature!

When I’m sitting in church and I hear something that touches my heart, I jot it down so I can add it to my art journal during my next creative time. That art journal just keeps on coming up!!

Seeking Out Creative Stimulation

This refers to getting out in the world and being present and absorbing someone else’s creativity. An example would be going to a concert, theater, art museum, or a poetry reading.

I belong to the Artists’ Association of Elk Grove Village and we have a local artist come to our monthly meetings and provide us with a demo. It always inspires me to create something myself!

The important part here is that you go feeling open to the creative juices that will surround you. Find something that makes you stop and wonder about it, then describe that feeling in your art journal so you can reflect on those feelings later.

Do you see a common thread?

Mindful Movement

Here we are talking about physical movement that is done purposefully. Yoga, pilates, or dance are all different types of movement that come to mind. Engaging in your physical strength will help to engage in your creative release.

In summary, below are some tangible ideas that you can start today to increase your creativity and lower your stress!

  • Zentangle
  • Art Journal
  • Photography Hike
  • Attend Worship
  • Visit an Art Museum
  • Sign up for a Yoga Class

Let me know in the comments, which easy activity to increase your creativity that you are going to try today!
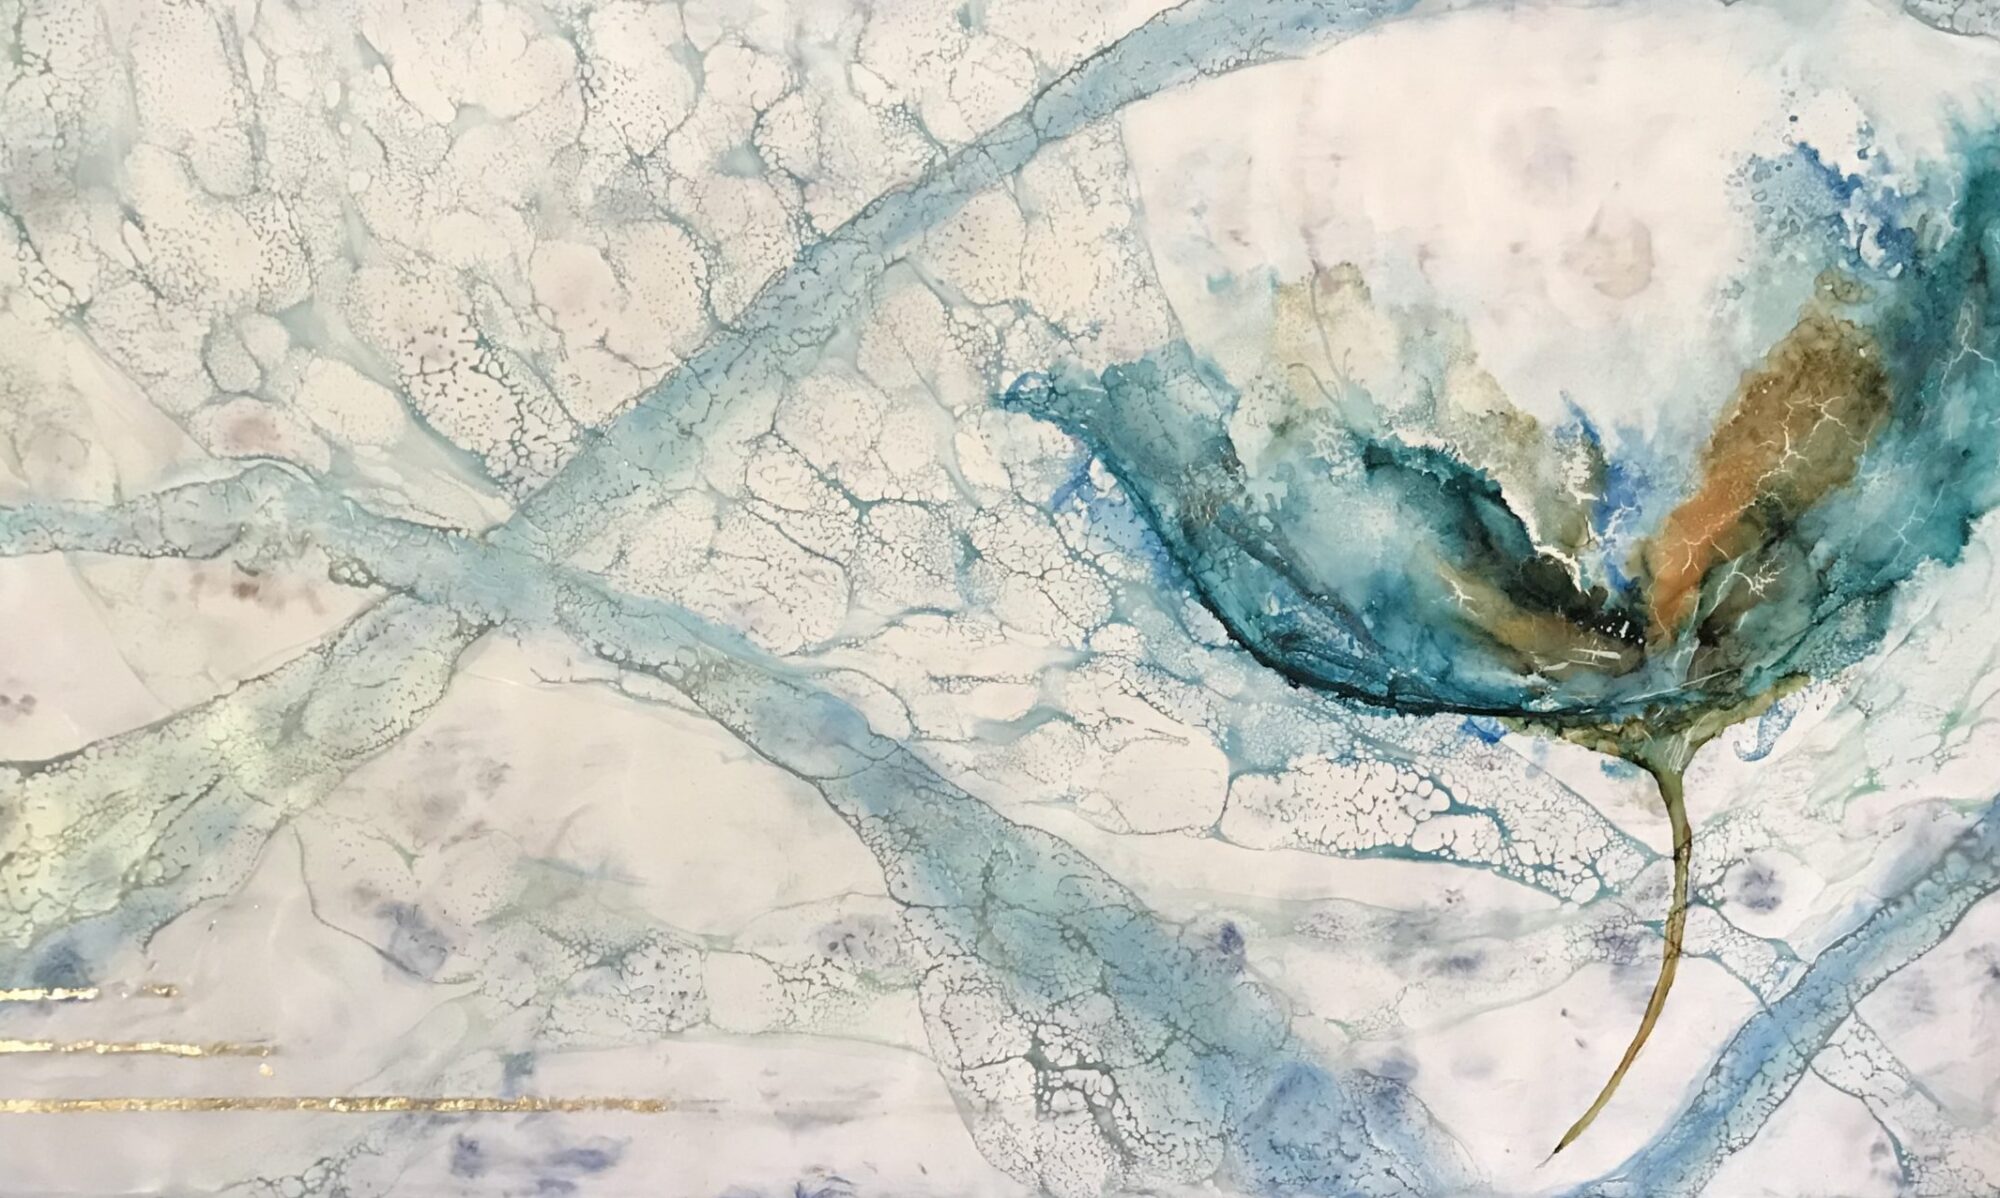
Alcohol Inks with a paintbrush?

Can you use a paintbrush with alcohol inks? Yes, you can!

Let’s start at the beginning. What are alcohol inks? They are solvent inks that contain alcohol. The alcohol is to the alcohol ink what water is to watercolors. They are very vibrant colors that can mix and blend like nothing else!

Safety: You don’t need a lot of supplies to start with alcohol inks, but you do need to set up your work space safely.

Alcohol releases a vapor especially if used in large areas. Always be in a well-ventilated area and use a respirator if you have asthma or any sensitivities. You will also want gloves to protect your hands from the staining properties of the inks.

Substrates: You will need to use a non-absorbent surface to work on. Examples include ceramic tiles, glass, Yupo paper, Duralar, Mineral paper, or canvas with 3 coats of Kilnz 2 primer.

If you are looking to save money while you start with practice pieces, you can use the glossy side of freezer paper, the back of a “Garage Sale” sign, or pieces of tin.

Start the background with 2 – 3 analogous colors. Analogous colors are colors next to each other on the color wheel. Blend those colors with a little Isopropyl alcohol (I use 91%) using a straw, canned air, or even just tilting your paper back and forth until the alcohol or blending solution evaporates.

Now put a couple of drops of a slightly darker color than your background colors in a clean palette. Let the alcohol evaporate and dry. This is a great way to be able to travel with these inks!

Put either some blending solution (by Ranger) or Claro Extender (by Jacquard) in a small pot. Dip your brush in to pick up just a small amount of the alcohol solution and then dip your brush in the dried ink color in your palette. If you use less alcohol solution on your brush, the more vibrant your color will be.

As you start painting, the background color will be reactivated when you paint in your subject on top of the background. This technique will take practice! You can start adding different colors as you experiment with different strokes.

Tip: if you have too much alcohol or blending solution on your brush, your colors will get away from you! Start small and work your way up.

I’m going to be recording a video on this process so it will be easier to practice. Until then, practice, practice, practice! Sign up for my newsletter so you don’t miss any new videos or tips and tricks that I will be sharing in the future!

Alcohol Inks in Fine Art

Have you wondered what alcohol inks are? Have you wondered if they are accepted in the world of fine art? I am here to tell you that alcohol inks are ink that is suspended in alcohol and YES, they are accepted in the world of fine art!

I love the fluid motion that occurs when using these inks. They are the most similar to watercolors just instead of activating with water like you do in watercolors, you activate the inks with alcohol. I use a Kamar Varnish and UV Protective spray to increase the archival properties.

My latest series is called “Freedom” and these pieces are strictly alcohol ink on either Yupo paper or Mineral paper. Yupo paper is a synthetic plastic that is nonabsorbent in a paper form. Mineral paper is made from rocks instead of trees and has a nonabsorbent surface that is slightly different from Yupo. If you are interested in trying alcohol inks, I suggest you try these and as many other nonabsorbent surfaces that you can find. For a cheap alternative to get started, just use Freezer paper (glossy side) or a For Sale sign that you would buy in Walmart.

If you like the look, but don’t want to get your hands messy, then check out my latest alcohol ink paintings below. You can find more paintings in my shop or let me know if there are some specific color combinations you would like for your home!

Flowing Love
Stormy Winds
The Mind’s Eye

Wine and Flowers Make Art

Lately I have been working in a series without realizing it. I have been loving working in encaustics and alcohol inks to create these floral pieces. I was showing my son and daughter-in-law my latest piece, and they immediately said it looks like a glass of wine sloshing about.

Tranquility

What do you think? Does it remind you of a glass of wine? We were drinking wine at the time, so I’m not sure if that helps persuade you or not! Now that I think of it, all of my floral pieces look like a glass of delicious wine! I am going to name this series FloraVine. I didn’t want it to be too obvious by calling it wine flowers, but I wanted it to have the same feeling that I get when I make one of these pieces.

My husband and I go to Christkindlemarkt every year and they have an abundance of Gluhwein (pronounced glu – vine) which brought me to my series name “FloraVine”. Maybe this will only make sense to me!!

This piece called Tranquility is going to be submitted to a juried show called One Inspired Evening in Chicago. A non-profit organization called Inspiration Corporation is having a Gala to raise money for people who are affected by homelessness and poverty to improve their lives through employment training and placement, social services, and housing. 100% of the proceeds will go to this organization!

I hope this piece gets accepted and will find a new home while giving back to a worthwhile charity that is really making a difference in the Chicagoland area. Stay tuned for more pieces in the FloraVine series!

Can you compare Inktense to Prismacolor?

No, you can’t! It’s like comparing apples to oranges. They’re both fruit but they taste totally different. Derwent Inktense pencils and Prismacolor pencils are both pencils, but they are totally different!

I was viewing a Youtube video where someone was comparing Prismacolor to Inktense. She was good at coloring with Prismacolor. She was trying to use Inktense in exactly the same way. She used them both on Nina White cardstock and used the white in the set to blend. If I were to use them in exactly the same way, I would have the exact same results that she did.

BUT if I were to use Inktense on watercolor paper and blend with water, I would have a completely different opinion and realize that you cannot compare these two pencils. Derwent Inktense pencils are an ink contained in a wooden pencil form. The ink is dry until it is activated with water which then it becomes a watercolor.

inktense vs. prismacolor

I am passionate about this concept because I use and love my Inktense! My latest piece “Monarchs Invading Spring Valley” is done with Derwent Inktense Pencils and blocks on 140 hot press watercolor paper. It was so easy to blend and layer upon layer until you get the look you are after.

If you are going to try to use Inktense, please use them on watercolor paper with WATER! You will be amazed and in love with the product! Here are my in process photographs of this Monarch butterfly. If you are in the Schaumburg, IL area, please stop by the Prairie Art Center to view the current exhibit which includes this piece. The hours are weekdays from 9am-5pm and weekends when there is an event going on. All work is for sale.

Word of the Year

Are you a resolutions kind of person? Do you make them? Then break them? Then feel bad about breaking them? Me too! But no more! I am now choosing a Word of the Year and it is so much better.

Towards the end of December, I start consciously thinking about what I would like to see happening in my life for the next year. When I’m least expecting it, a word just won’t leave me alone. At first I say it a couple of times and think, I wonder if that will be my word. If I never think of it again, then it’s not my word. BUT if it just keeps coming up in different ways in daily life, I know that will need to be my word. Last year my word was Evolve. Sometimes I think, I don’t know if I did it justice. Then when I look back over the year, I think, yes, my artwork has evolved, my friend circle has evolved, my gluten-free cooking has evolved and the list goes on!

This year as I’m sitting in church at St. Peter, there is a sermon on light. I think about how I would like to be a light in this dark world. Then the word just keeps coming up in conversation. I see layers of light in my art. I need to eat lighter food. It’s amazing how the word doesn’t let go! So my word this year is LIGHT! It seems to touch on so many different areas of my life and it has so many different meanings. I’m excited to explore the light!

In order to keep my word front and center all year, I make a piece of art to hang somewhere that I’ll see it on a daily basis. What I like about this part is that I give myself restrictions. I have to use materials found in my studio (aka, the basement). I cannot go out and buy anything for this! Lucky for me I have a lot to choose from! Here are a couple of photos of my piece in progress.

Starting with stencils and modeling paste.
Light
In progress…

This is a quick, fun way to explore your word. It’s not perfect and it’s not meant to be. It’s Wabi Sabi! I can’t wait to hear your Word of the Year!

Here’s to a healthy, happy, and light-filled 2019!

Winding down…

It’s almost the end of 2018 and I hope you have had a wonderful Christmas celebrating with family and friends! One more night of celebrating, and then it will be time to tackle our goals! I am going to pick out a word of the year and I would love to hear if that is something you do also? In the past I feel like I forced my word and it didn’t really suit me well. This year I am going to try to be more organic and less demanding in how I choose my word. I have tried to get the family to also choose a word, but they just laughed!

Enjoy this time of winding down! I’m sure everyone could use a little less stress in their life!

Getting Started with Alcohol Inks

When you are just getting started with alcohol inks, don’t feel like you need every color in the rainbow. There are so many brands and colors out there, you could go nuts! My suggestion is to just start slowly with a few colors that you like and white and black. I prefer Ranger’s Snow Cap for my white but I do use Pinata’s Blanco Blanco also. Every brand has colors that move differently based on their alcohol content properties. That means that if you start experimenting and don’t like the results, add more alcohol/blending solution/claro extender and try again. My other suggestion is to limit your ink in the beginning. Some of the colors are so vibrant (which is a beautiful attribute) but when you have too much ink, it will turn murky. Of course, there are ways to use the murky areas to your benefit, but that is something we will talk about in the future.

The other thing I must discuss is safety. Alcohol can affect some people in a bad way. Please use a mask and only use in a well ventilated area. There are many videos on You Tube addressing this issue. The inks can stain the fingers for a couple of days so I also recommend using latex gloves and covering your work surface with freezer paper.

As for the substrates, you can use any non-porous surface. That includes glass, metal, yupo paper, Duralar, Mineral Paper, ceramic tiles, and canvas if you prep it with Kilz2 Latex Primer. Obviously each surface will provide different and unique effects.

Alcohol inks are all about experimenting! If you want to let your creative mojo loose, then this is for you! Let me know if you try it!

Tools needed to start an alcohol ink painting on Yupo

Starting at the beginning…

November 28, 2018Written by ADMINEdit”Starting at the beginning…”

Whenever you decide to embark on something new, the best place to start is at the beginning. So here it is! My first blog post! I know some people think this is the easiest thing in the world, but if you’re not up on blog lingo, (that’s probably the wrong term) you can read the instructions of what to do next and it makes no sense! 

If you’re anything like me as soon as you have to sit down to figure out what to do next on your blog, you go find a piece of art that needs tweaking. So much easier!! This is the first step, writing a first blog post. If you’re in the same boat, give me a sign that I’m not in this pool of internet newbies by myself! 

I would love to have you follow along on my journey! Just subscribe to my monthly newsletter and we can muddle through this together!